How to Build an MCP Server in 2026: 5 Patterns I Actually Shipped
Every way to build an MCP. Which MCP pattern fits your project, how to build it step by step, what works and what breaks. Every command verified from 6 real MCPs I shipped.
MCP servers give Claude real capabilities: file access, database queries, API calls, and tools you built yourself. But “how to build an MCP server” doesn’t have one answer. There are two transports (stdio and HTTP), and five ways to ship them: local script, npm package, .mcpb installer, HTTP with Bearer token, and HTTP with OAuth. This article maps every pattern with verified build steps.

Anthropic released MCP — Model Context Protocol — in November 2024. By spring 2025, OpenAI, Microsoft, and Google had all adopted it. It became the industry standard for how AI connects to external tools
Before MCP, AI answered from memory. After MCP, it could connect to your files, your Google Drive, your Slack, your Notion, your calendar, anywhere your data actually lives.
Claude moved fast. Native integrations appeared directly in the app.
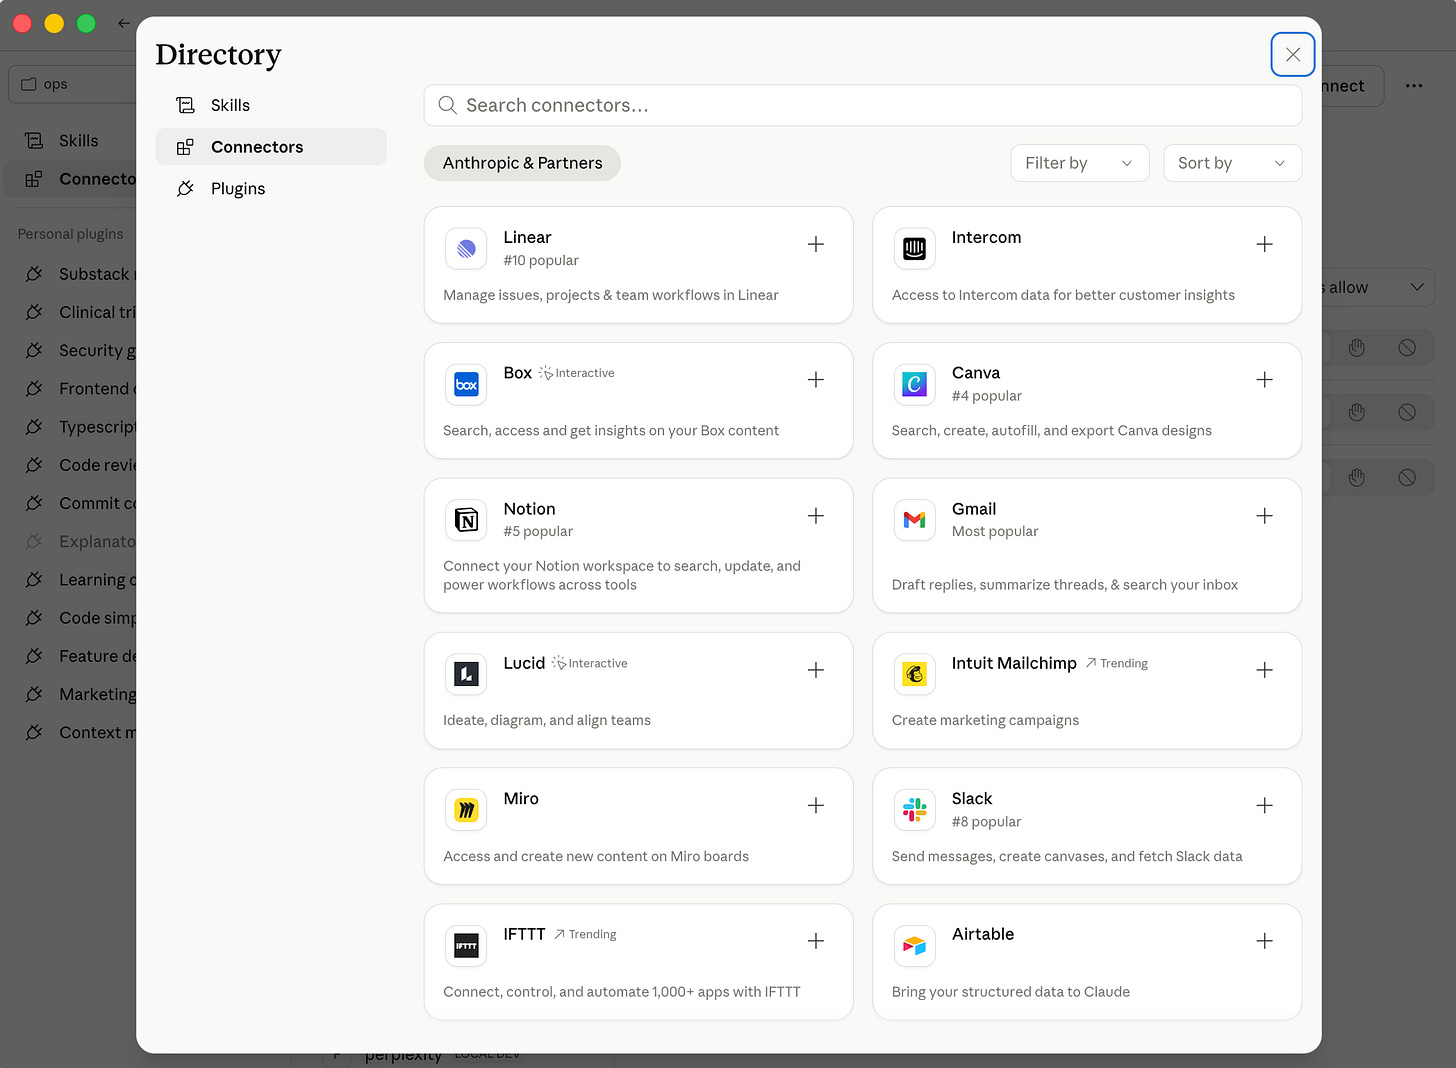
You’ve probably installed an MCP server by now. Maybe you followed a tutorial. Maybe you copied a JSON block from a post you bookmarked and pasted it into Claude or Cursor. It connected. Immediately, Claude could talk to your data you never thought to wire up yourself.
I got obsessed with MCPs the week they came out. I’ve tried dozens, kept a handful in my daily workflow, and built several of my own once I hit the limits of what was already out there.
A typical workflow I do after publishing an article involves a custom MCP I’ve built available to premium members, and it looks like this:
After using MCPs intensively day-to-day, I found the term “MCP server” still gets confusing.
Some run locally. Some live behind a URL. Some are easy to share as an npm package. Some need a one-click installer. Some need OAuth and browser sign-in.
Tutorials for one pattern do not translate cleanly to the others, and most do not tell you which kind you’re actually using and building in the first place.
I’ve built the Substack newsletter MCP, the Substack notes MCP, the Substack article MCP, the Gmail MCP, the crossposting MCP, the Build to Launch premium MCP for my paid subscribers. And a handful working locally that I never publicly shared. None of them were the same kind of server, because none of them had the same requirements.
After enough builds, the map became clear. This article is that map.
What’s inside:
MCP Server Types: Stdio vs HTTP — what the two types across five patterns look like in practice, with examples you’ve already seen:
How Stdio MCP Servers Work — local script, npm package, or .mcpb installer
How HTTP MCP Servers Work — Bearer token or OAuth, connected via URL
How to Build a Stdio MCP Server — the full stdio build in 8 verified steps, then three ways to ship it:
Run it locally — point Claude at
dist/index.js, no publishing neededPublish to npm — users install with
npx, two live packages you can try nowBuild a .mcpb installer — one-click install for non-technical users
How to Build an HTTP MCP Server — same HTTP transport, two auth layers:
Bearer token auth — Next.js route with API key auth, deploy to Vercel
OAuth PKCE — browser sign-in, Cloudflare Worker build, three live OAuth MCPs you can connect now
When to Upgrade Your MCP — how the Substack newsletter MCP went from raw Python script to npm package to full OAuth, and what that path tells you about when to upgrade
How to Choose Between Stdio and HTTP MCP Servers — a decision tree: which transport, then which sub-pattern
MCP Server Standards Changing in 2026 — four spec changes worth watching before your next build
Stdio starter, Next.js HTTP starter, and Cloudflare OAuth starter templates in the Build to Launch resource library
🎁 Three starter templates are in the Build to Launch resource library. Access them at the end of the article.
Loading...
Hi, I’m Jenny 👋
I build AI systems and tools, then share how I did it. I run the Practical AI Builder program — for people who already use AI and want to build real things with it. Check it out if that sounds like you.
If you’re new to Build to Launch, welcome! Here’s what you might enjoy:

MCP Server Types: Stdio vs HTTP (and Five Ways to Use)
Every MCP server uses one of two transports: Stdio and HTTP. That’s it.
Everything else — npm packages, OAuth flows, Bearer tokens, .mcpb installers — is a distribution or authentication layer on top of one of these two.
How Stdio MCP Servers Work
Stdio MCPs run on your own computer. Claude opens them like you'd open an app, uses them to get what it needs, then closes them. You never have to think about them, they open and close automatically every time you chat.
Three forms it comes in:
- Local script or interpreter —
uvx,python,node. If the setup instructions told you to clone a repo or run a script, this is it. Many of these are also published on GitHub and available as npm packages.
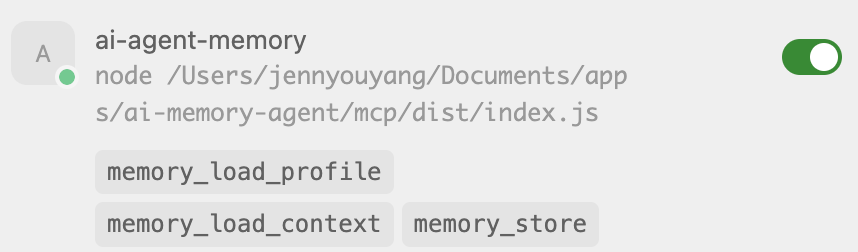
One of my personal MCPs runs locally via node
- npm package — if the docs said “install via npm” or the command starts with
npx, it’s this. Someone published it so anyone can install it in one line. No cloning, no setup.
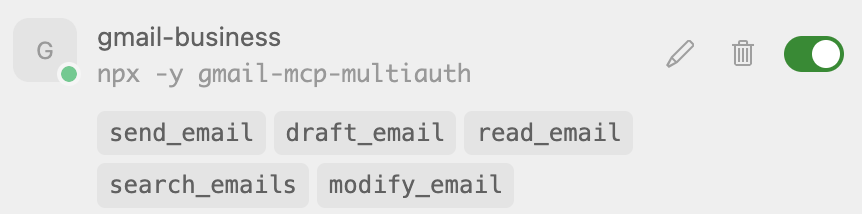
I published this multi-account gmail MCP via npm and use it via npx
- .mcpb installer — double-click and Claude Desktop installs it automatically. No terminal at all.
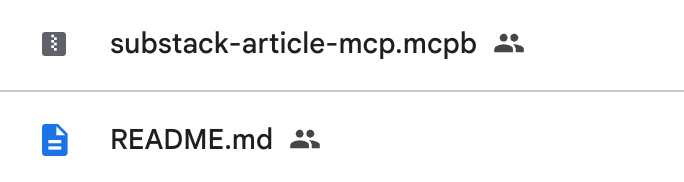
I created this .mcpb package late last year to help me retrieve articles I’ve subscribed to
How HTTP MCP Servers Work
HTTP MCPs live on someone else's server, not yours. You connect once with a URL, the same way you'd visit a website. Nothing runs on your machine, and when the builder ships an update, you get it automatically without doing anything.
Two ways they handle your identity:
- Bearer token — you paste a URL and an API key from the service’s dashboard.
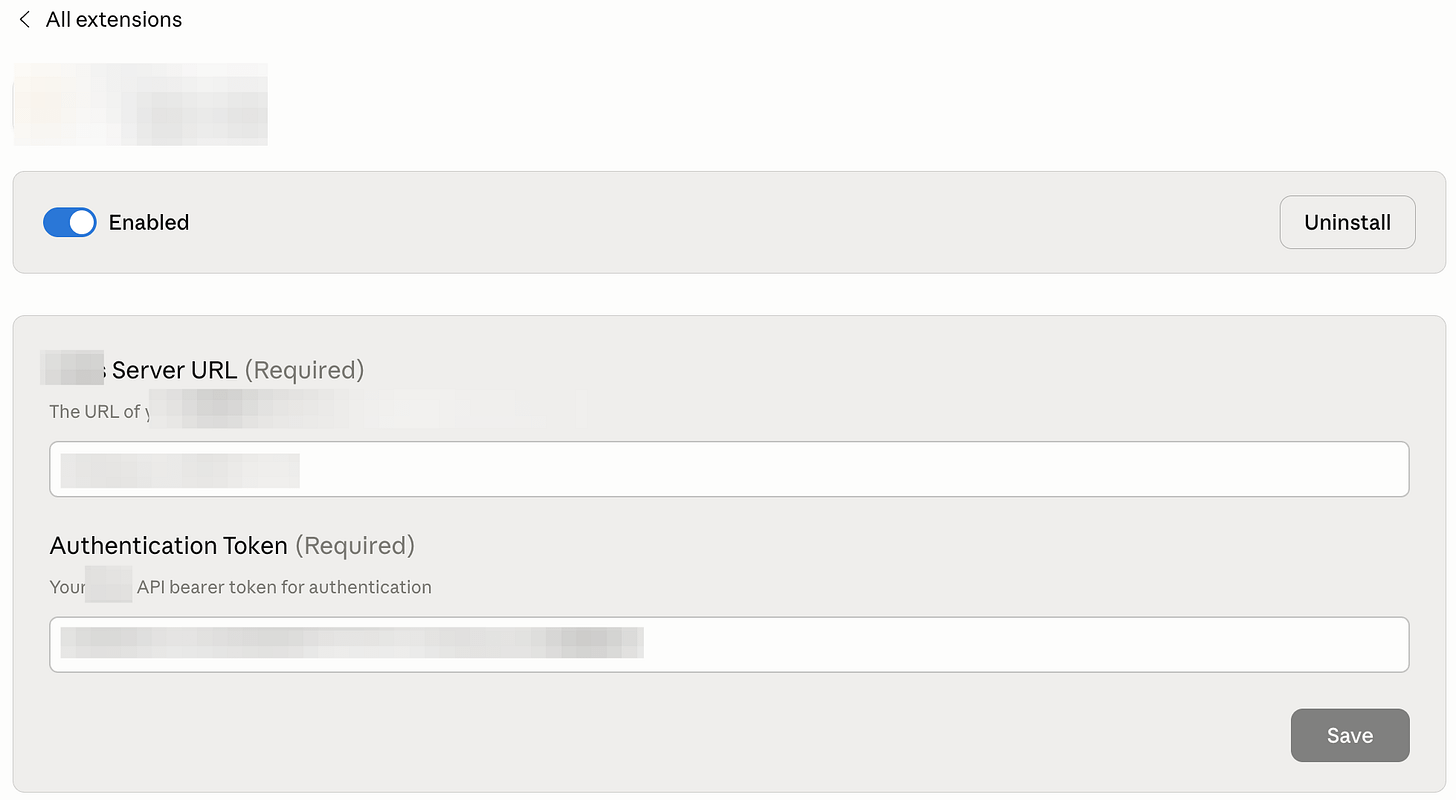
One of my custom built MCP for a client
- OAuth — you click “sign in,” authenticate in a browser, and it’s connected. The native connectors that appear built-in to Claude Desktop — the ones where you just click to connect — are all OAuth MCPs.
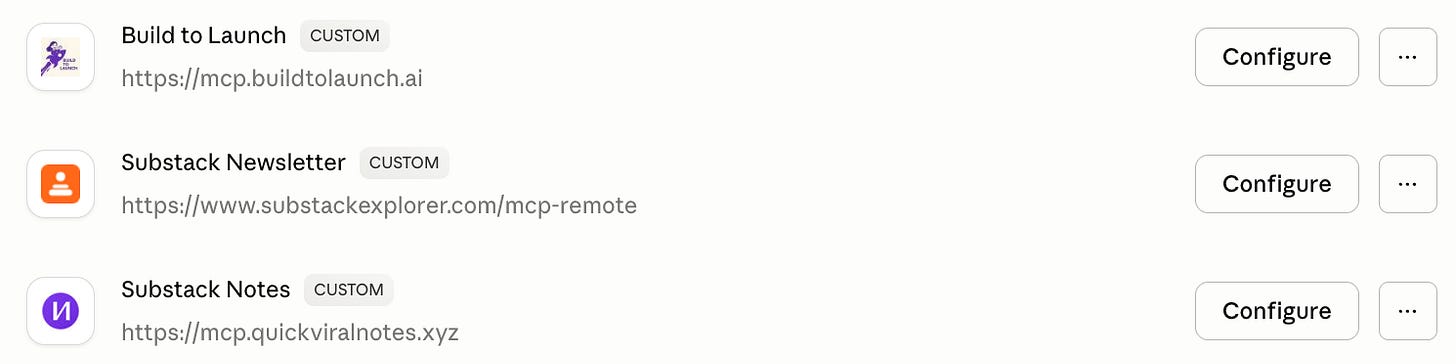
All of these MCPs are available for my paid members via OAuth signin
You’ve just seen five ways AI can connect to external sources. Every one of those MCPs was built by someone (or company) who had domain resources they wanted to make useful.
That’s the real opportunity.
Just like Jose Antonio Morales puts it perfectly in his article. You've spent years building up your domain knowledge, and developing a system that works. An MCP packages it — your logic, your shortcuts, your way of doing things — so anyone can use it.
Your domain knowledge is the product. The MCP is how it ships.
That’s what we’re building next.
How to Use the Guide
Each pattern in this guide comes with four things:
The complete step-by-step build: every command, every file, every config, in order.
Full working code packet: every build includes the complete package.json, tsconfig.json, and source file. Download it and build on top of it.
A verification step after each meaningful command: a JSON-RPC call, a curl, or a compile check that confirms the step worked before you move to the next one.
Status: ✅ worked first try · ⚠️ worked after a documented fix · ❌ failed and abandoned
A build error reference at the end of each pattern: every failure point I hit, with the exact cause and the fix.
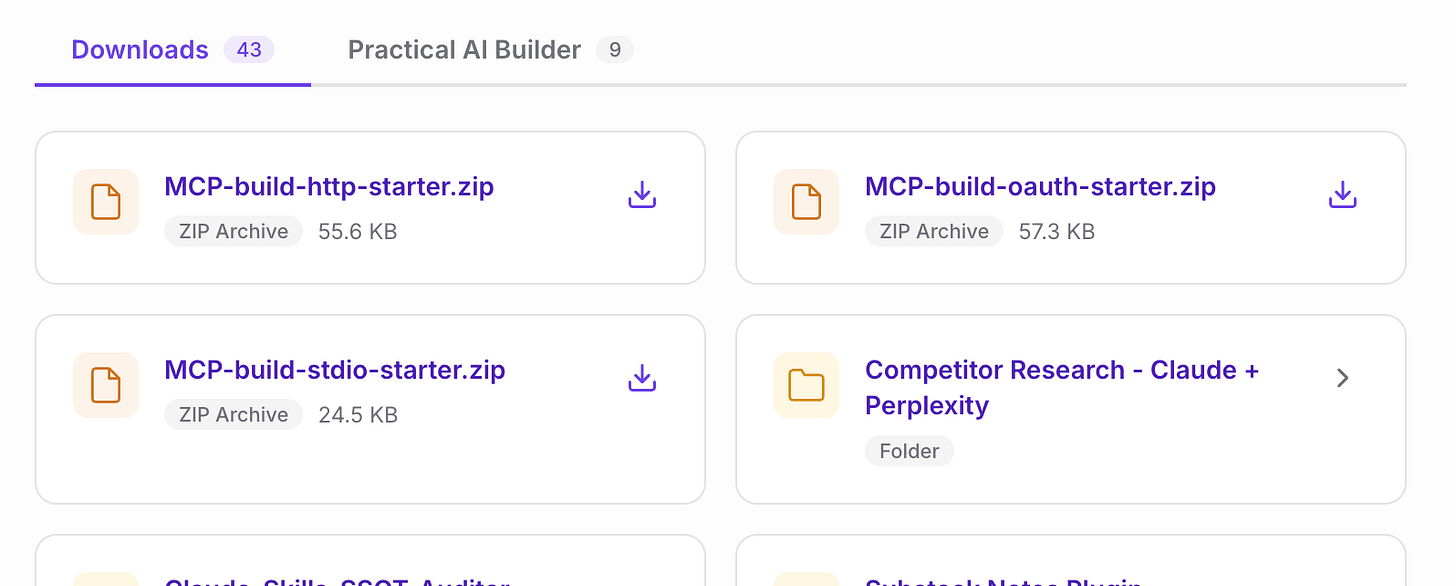
Three starter templates with local MCP and two hosted MCPs are in the Build to Launch resource library. Access them through the resources.buildtolaunch.ai.
If you’re using an AI coding companion:
Download the starter for your pattern, point your AI at it, and describe what you want. The AI learns from the working code. The builds below are for you to understand. The starters are for the AI to build from.
Let’s start with the local MCP server and download the templates below.
This article continues for members
Join Build to Launch to read the full article, access all cohort content, and connect with other AI builders.