How I Create Consistent AI Characters for Every Hero Image
The step by step guide, prompt system, and tool comparison for creating consistent brand images
Creating consistent AI-generated brand images shouldn’t take 20 minutes of prompt iteration every time. This is the complete system I use. I designed it around a ChatGPT 4o project, but the same structure has been portable to Gemini, ChatGPT Images 2.0, and other image models.
It has since sparked a broad wave of adoption across Substack, with many creators building their own consistent-character hero image systems and adapting the framework to different styles, models, and newsletters. Most notably, AI Meets Girlboss has rebuilt her full workflow and successfully launched her Substack brand around this framework.
This guide also includes my honest comparisons with Gemini and ChatGPT image models, plus why I would stick with ChatGPT instead of Gemini.

How do you create your hero images with consistent character?
I kept getting some version of that question. My short answer was always the same:
Start with a fixed character reference.
Describe the new scene without changing the character.
Send the reference and the scene prompt to the image model together.
Then people asked, “But how, exactly?”
sent me that question again while many of my AI friends were moving their image work to Gemini.
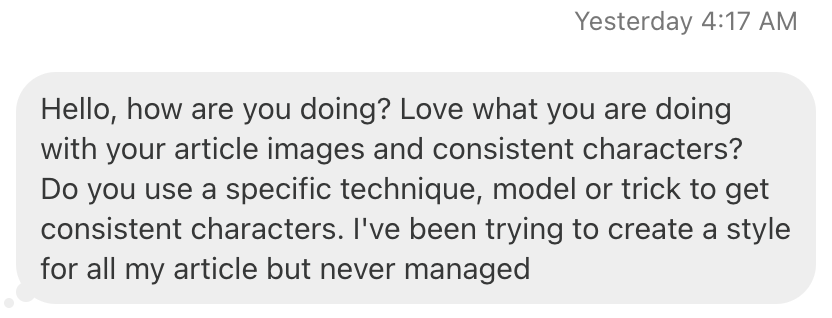
That’s when I asked myself: would I switch directly to the faster Gemini model? My answer was... maybe. And that pause made me realize: this isn’t just about one-shot consistent image generation. People are curious about the system behind it.
Before we dive in, let’s talk about why this matters at all.
Consistent hero images create brand recognition. When someone sees that 3D cartoon character in their feed, they know it’s from you before they even read the title.
It also signals professionalism. Wildly inconsistent images make it look like you’re grabbing random stock photos.
Most importantly, it builds trust through coherence. Your visual identity reinforces your written voice.
What you’ll go through with me:
How I Found the Best AI Procedure — from cute 3D animals to a transferable system
The Step-by-Step ChatGPT Workflow — the exact setup, prompts, and real example
The Comparisons: ChatGPT vs Gemini — honest trade-offs and when each tool wins
How to Automate the Entire Workflow — from 20 minutes to 30 seconds with Cursor slash commands
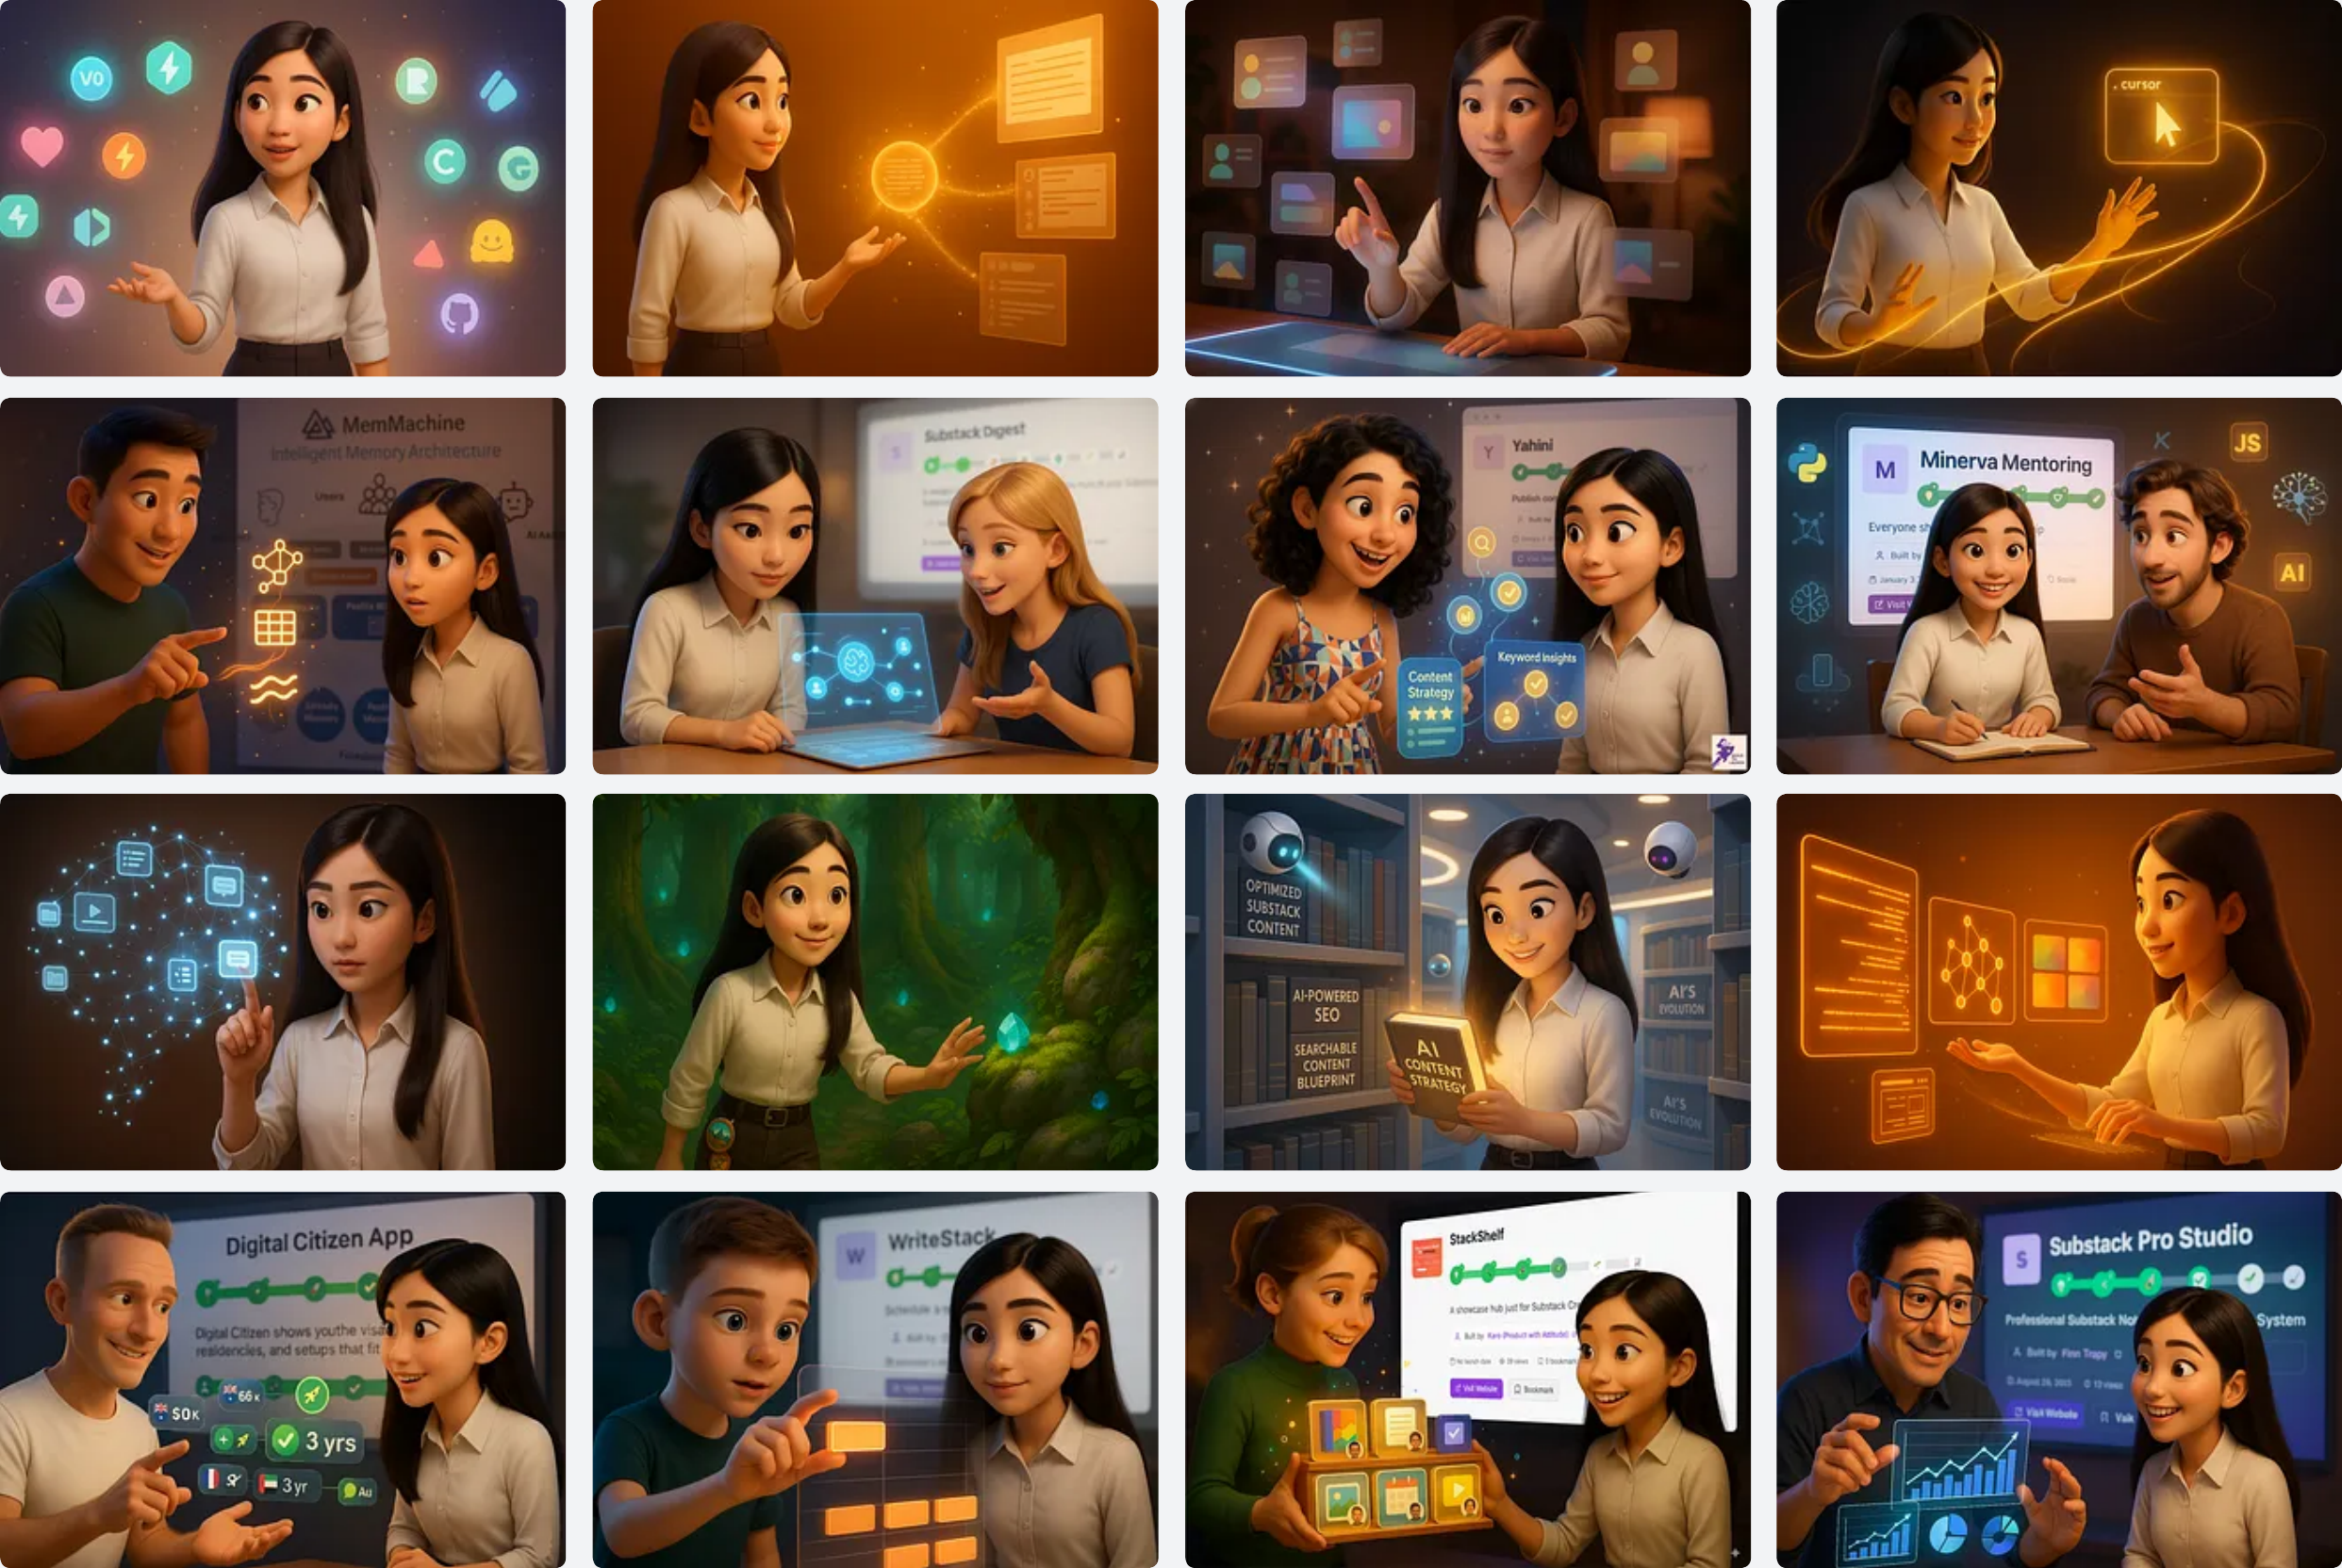
So with that context, let me take you through how I discovered what works, starting from the very beginning.
1. How I Found the Best AI Procedure
First off, the Pixar-style 3D cartoon images are my favorite style. I love watching 3D cartoons, and they make me feel delightful.
In the beginning, I’d use ChatGPT’s DALL·E model to create cute 3D animal images, because they are just sooo adorable.

As the newsletter grew, I wanted the images to feel connected. I chose my profile picture as the identity source.
I uploaded my profile picture and literally asked ChatGPT to create front, side, back, sit, stand, talk, walk, happy, confused... all sorts of postures. That became my cartoon image pool. Not yet styled or tailored to fit into specific stories, but serving as the baseline for everything that came next.
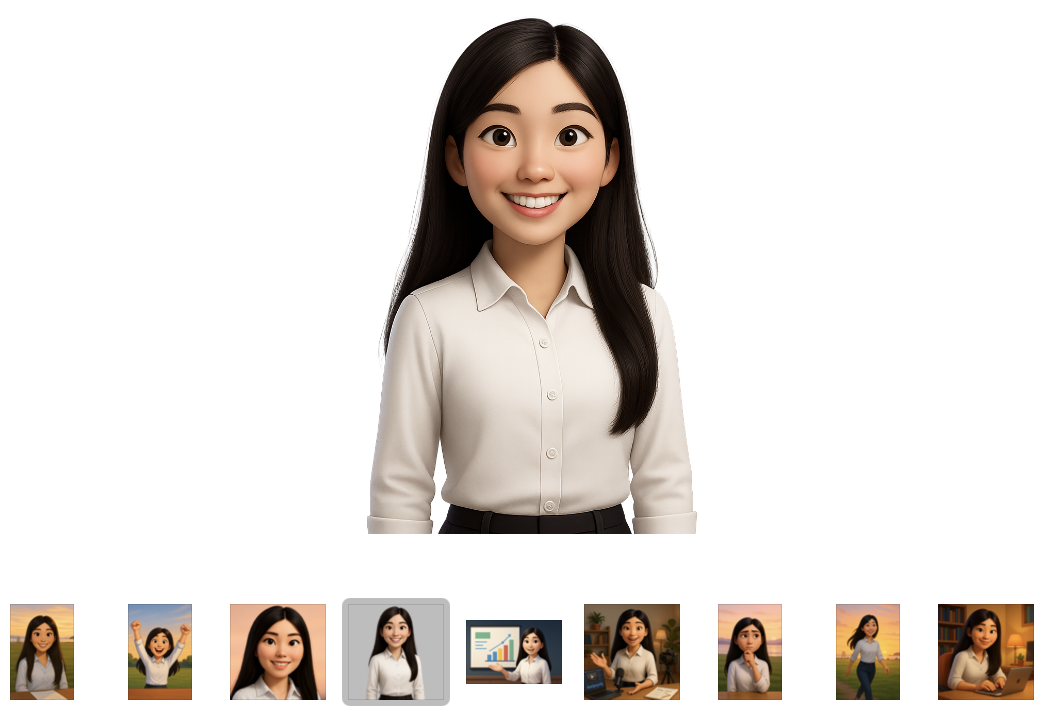
I have a specific project in ChatGPT called “Images,” with a system prompt and those base cartoon files in it. Each time when I need to create a 3D image for an article, I’d go to that folder and start prompting.
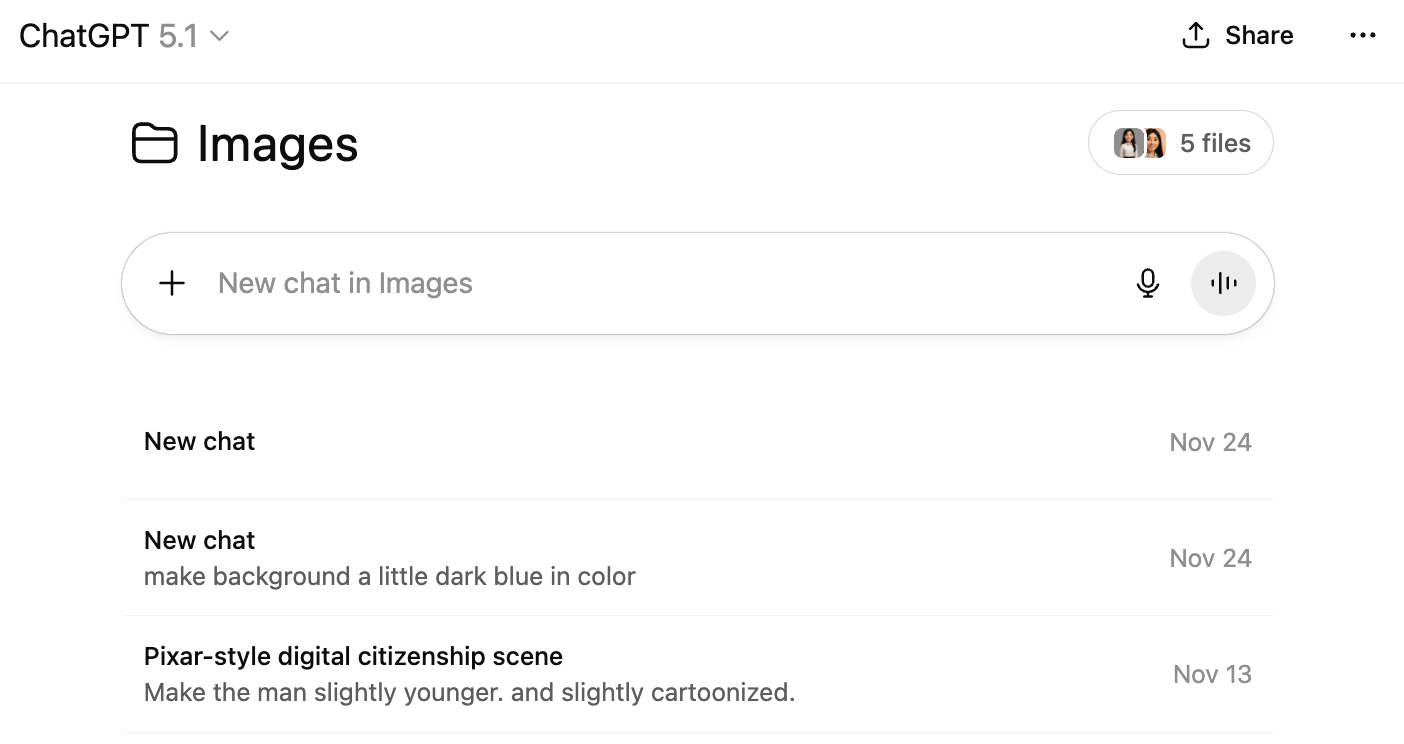
Through experimentation, I discovered ChatGPT 4o worked best for me. It captured that subtle feel I wanted, a little mystic, a little fun, not the rigid light blue and paper white look that other approaches gave me. I’ll walk you through the exact process in a moment.
Of course, I tried newer models and Gemini too. They had strengths, but each had deal-breaker issues for my specific needs. They are things that might not matter to you, but were crucial for my brand setting. I’ll explain those trade-offs in detail later.
One validation moment stands out: I published an article about voice transcription with a hero image of me talking magic to a tree that grows as I talk. commented asking for the image prompt. I was surprised anyone would be curious about it. I shared the prompt and he came back with his version, nearly identical to mine. That’s when I knew this wasn’t my quirky workflow anymore, it became transferable.
2. The Step-by-Step ChatGPT Workflow
You can run this process in ChatGPT with one clear reference image. A small, labeled set also works when the scene needs a specific angle. OpenAI’s current image guidance recommends naming the role of each uploaded image and keeping the set manageable.
The setup
Create one dedicated image project or reusable instruction file. Store:
Your identity reference
The appearance details that must stay fixed
Your preferred style and color range
Your standard aspect ratio
Your composition rules
Your exclusions, including text, logos, watermarks, and extra people
If you want a reusable starting point for the project instructions, the ChatGPT Project System Prompt shows how I structure persistent context.
The six steps
Step 1: Define the job of the image. Write one sentence about what the cover should communicate before you describe the scene.
Step 2: Choose the identity reference. Use the cleanest image that shows the face, hair, and clothing you want to preserve.
Step 3: Describe the scene. Name the setting, mood, action, and two to four objects that represent the article.
Step 4: Lock the composition. State the aspect ratio, character position, gaze target, hand targets, foreground, and background.
Step 5: Generate the full prompt. Combine the fixed identity rules with the new scene brief. Repeat the identity constraints near the end because that is where drift tends to show up.
Step 6: Generate and inspect. Check the face, hair, hands, clothing, unwanted text, required objects, dimensions, and crop. Make one targeted correction when needed instead of rewriting the whole prompt.
A Real Example
Let me show you how this worked for the article about learning Claude code in 30 minutes.
Article topic: Claude Code for Everyone in 30 Minutes
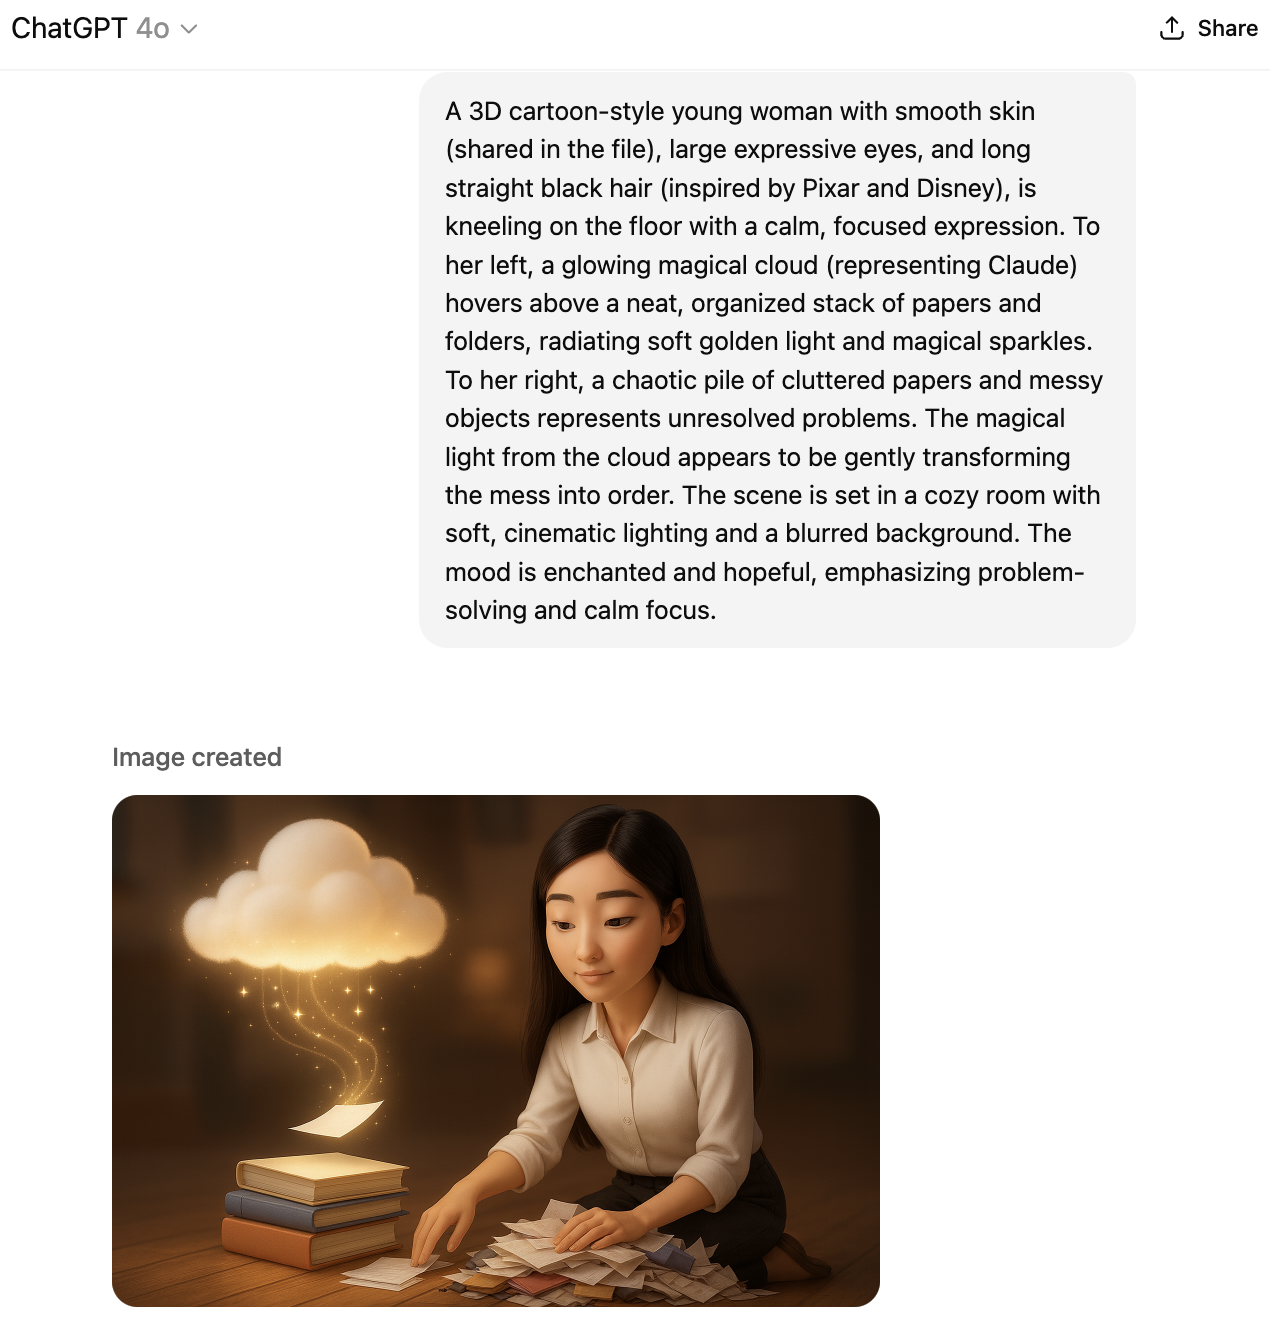
What I needed: Character tidying the mess on the floor, with calm focus, magical cloud (representing Claude) transforming chaos into order
The prompt ChatGPT generated:
A 3D cartoon-style young woman with smooth skin (shared in the file), large expressive eyes, and long straight black hair (inspired by Pixar and Disney), is kneeling on the floor with a calm, focused expression. To her left, a glowing magical cloud (representing Claude) hovers above a neat, organized stack of papers and folders, radiating soft golden light and magical sparkles. To her right, a chaotic pile of cluttered papers and messy objects represents unresolved problems. The magical light from the cloud appears to be gently transforming the mess into order. The scene is set in a cozy room with soft, cinematic lighting and a blurred background. The mood is enchanted and hopeful, emphasizing problem-solving and calm focus.
Result: One-shot success.
This workflow is reliable and relatively quick once you have the foundation set up. But it wasn’t always this smooth. Next, let me explain why I landed on this specific approach instead of the alternatives everyone’s talking about.
3. The Comparisons: Why Not Newer ChatGPT Models? Why Not Gemini?
This workflow works beautifully with ChatGPT 4o. But you might be wondering:
Why not the newer ChatGPT models?
Why not Gemini, especially with all the hype around its image generation capabilities?
Fair questions. I’ll show you what happened when I tried them.
Why Not Newer ChatGPT Models?
I started noticing that newer ChatGPT models weren’t working as well for me.
There were times when I accidentally used a prompt without specifying to use 4o, and the default newer model would turn out disastrous. Look at this image for my call for AI builders article, with left using non-specified model and right side using 4o.
Suddenly short hair? Why is the character wearing glasses now? Why is the skin tanned?
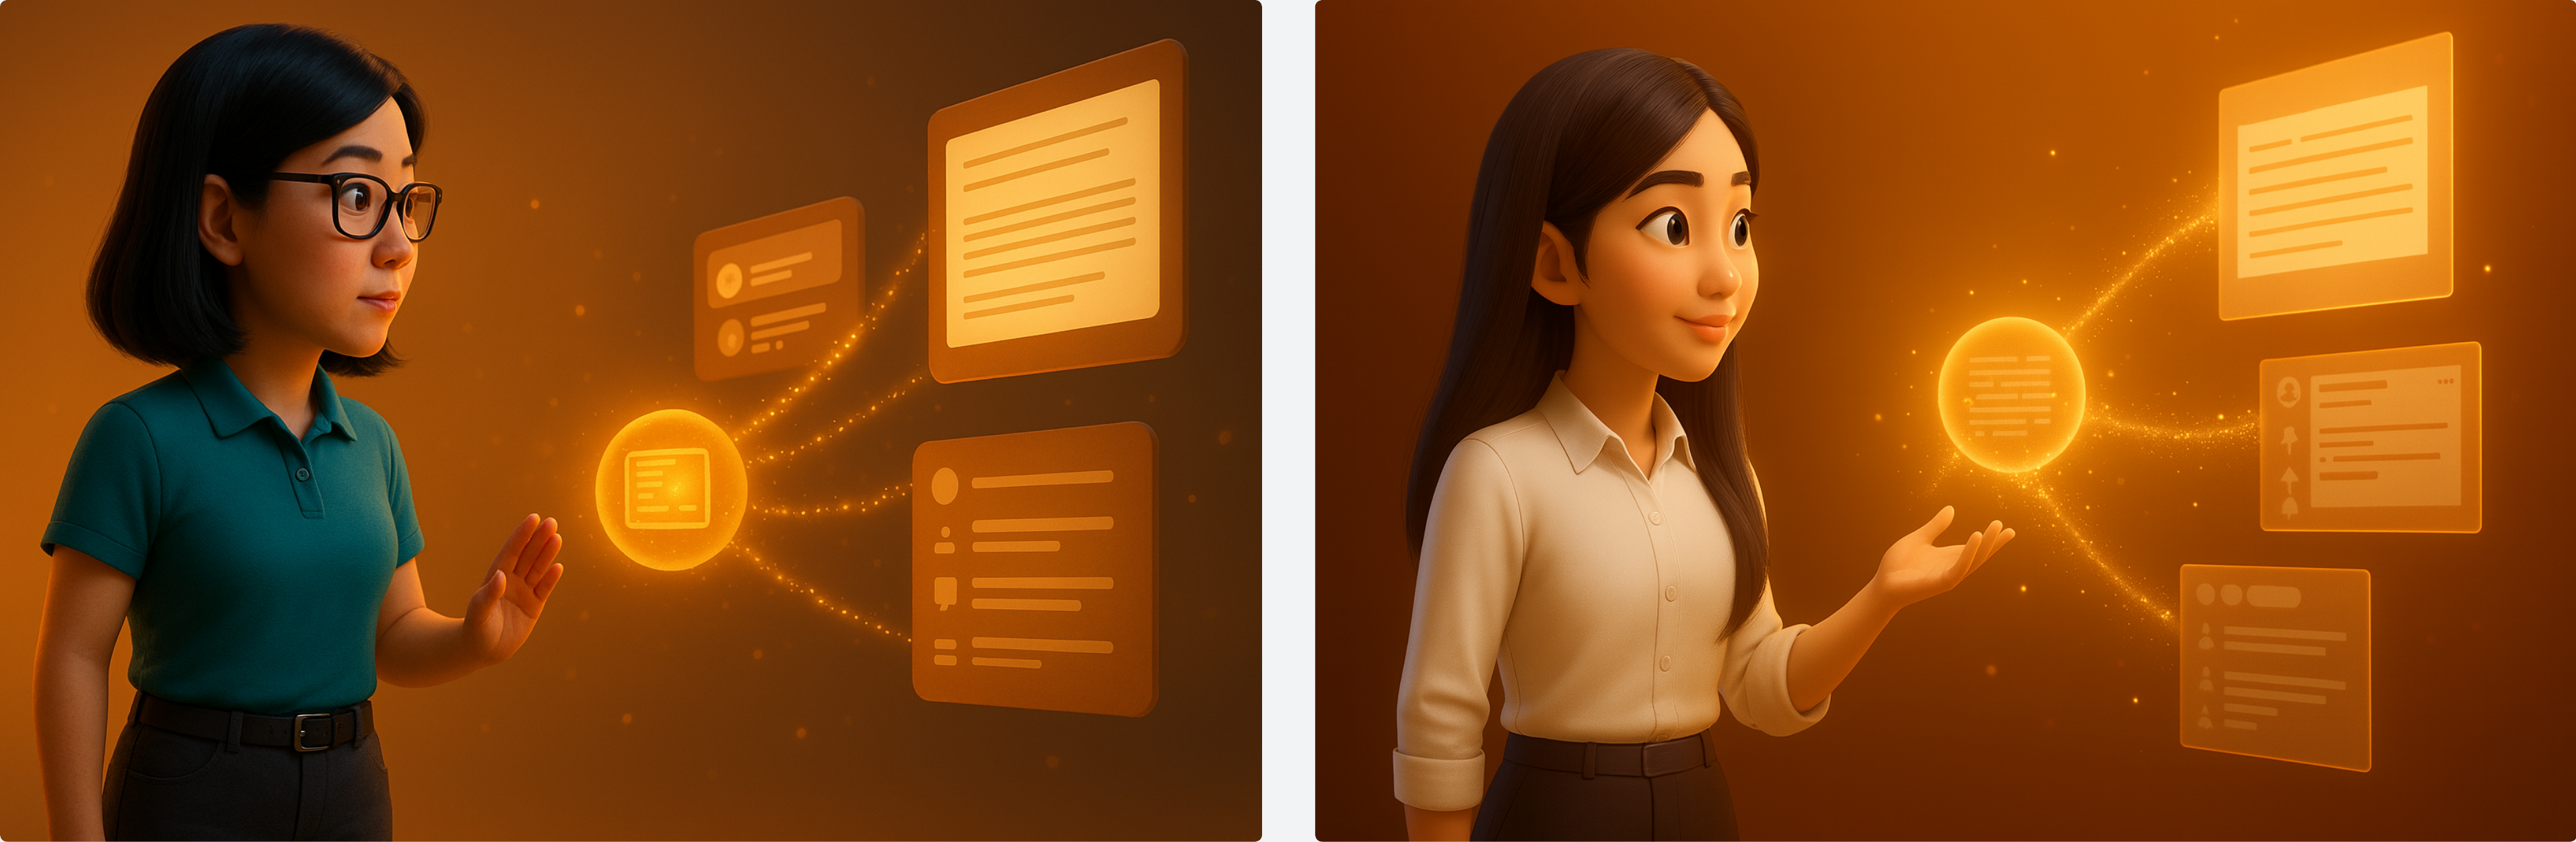
Are you judging based on stereotypes? Are you making assumptions about what it means to do knowledge work, or what a “healthy person” should look like?
I wanted that little mystic, that little fun look. Not the rigid, overly polished style the newer models kept producing. The subtle feel was off.
Why Not Gemini (NanoBanana)?
That’s a totally fair question. I have tried Gemini for various projects, and it was mostly amazing. Fast, powerful, and often impressive.
Except... the feel of the cartoon person looks a little off to me.
Let me show you a specific example. I needed an image for my article about first hitting Substack rising board. My character in a mysterious forest, picking up a gem. I wanted that curious, wonder-struck feeling. You know, that moment of “what is this thing?”
What I wanted: Mysterious look, forest setting, picking up gem, curious and genuinely surprised feel
What Gemini generated: A very futuristic, mature, confident woman. Attractive, sure. But she looked like she was about to take charge of the metaverse, not humble, not encountering something fantastic and new.
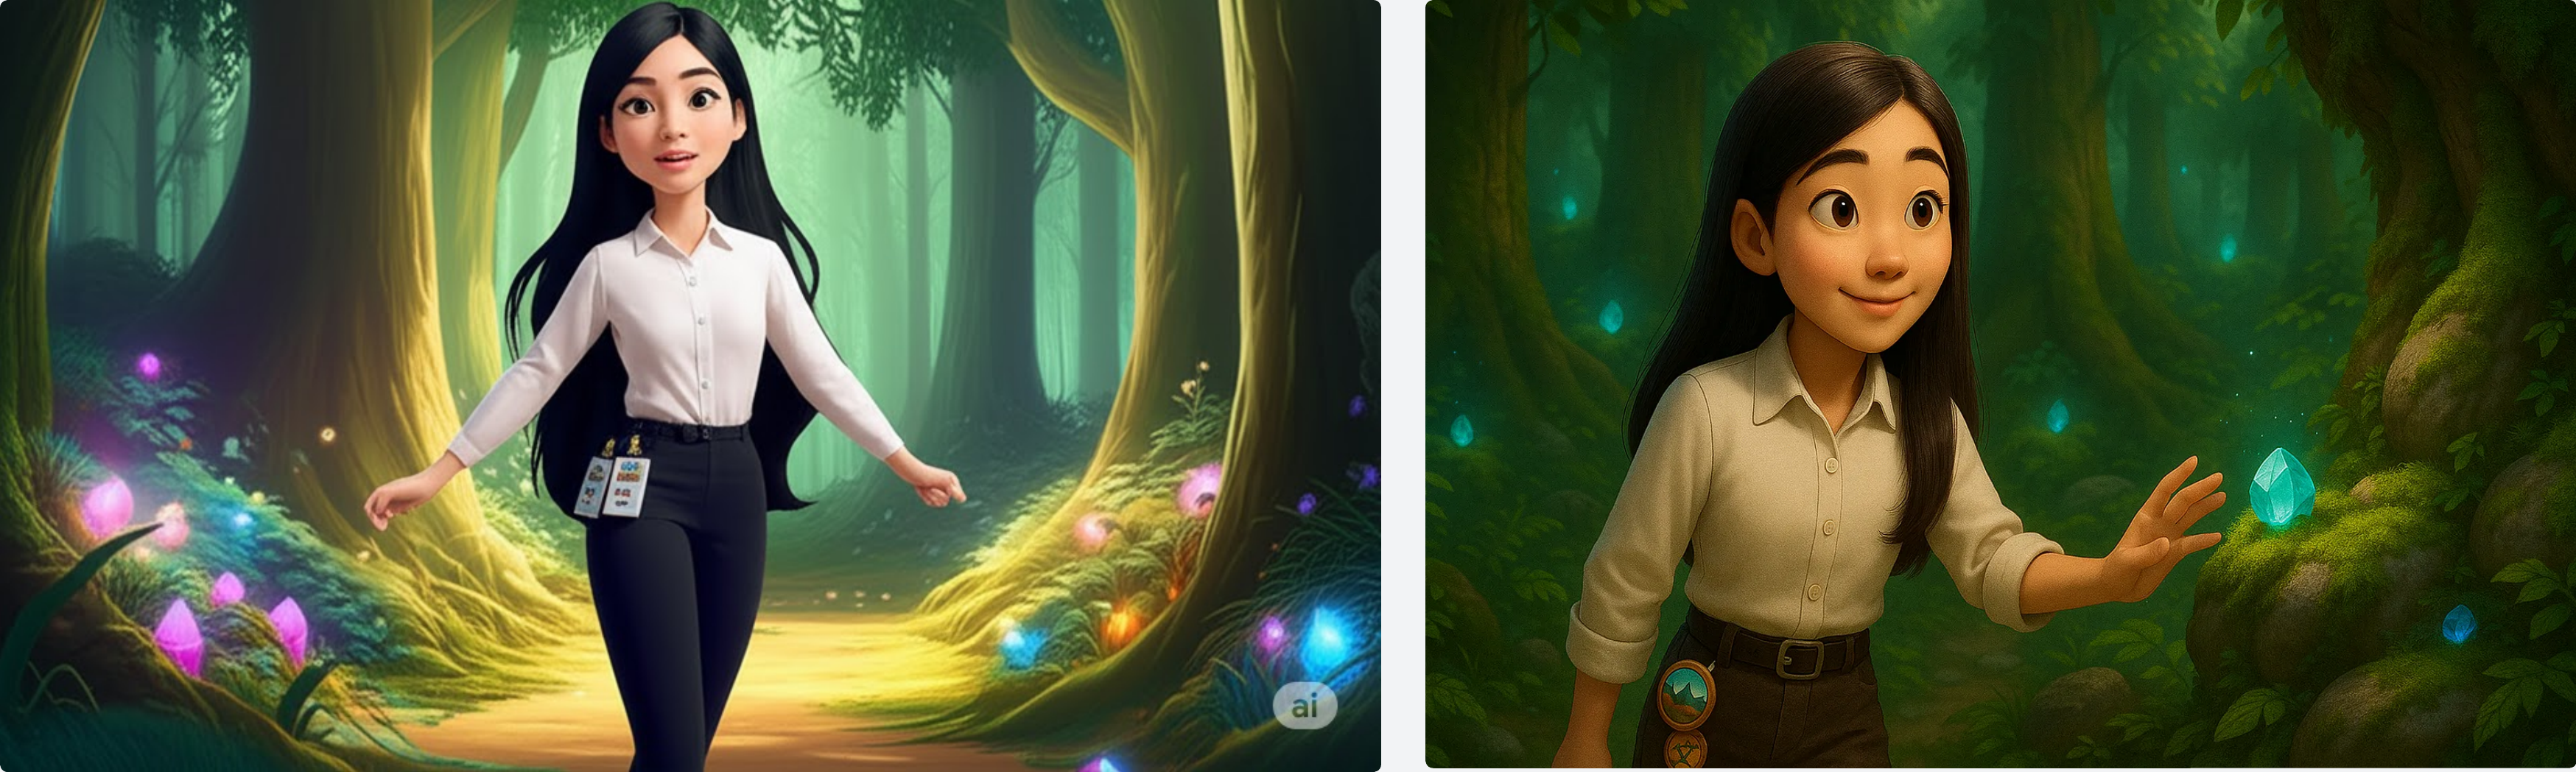
Don’t get me wrong, ChatGPT’s image generation isn’t perfect either. But it’s those subtle differences: the size of the head, that facial expression, the background color and scene. Gemini’s outputs feel a bit mechanical to me. And other times, they look… too modern to be me.
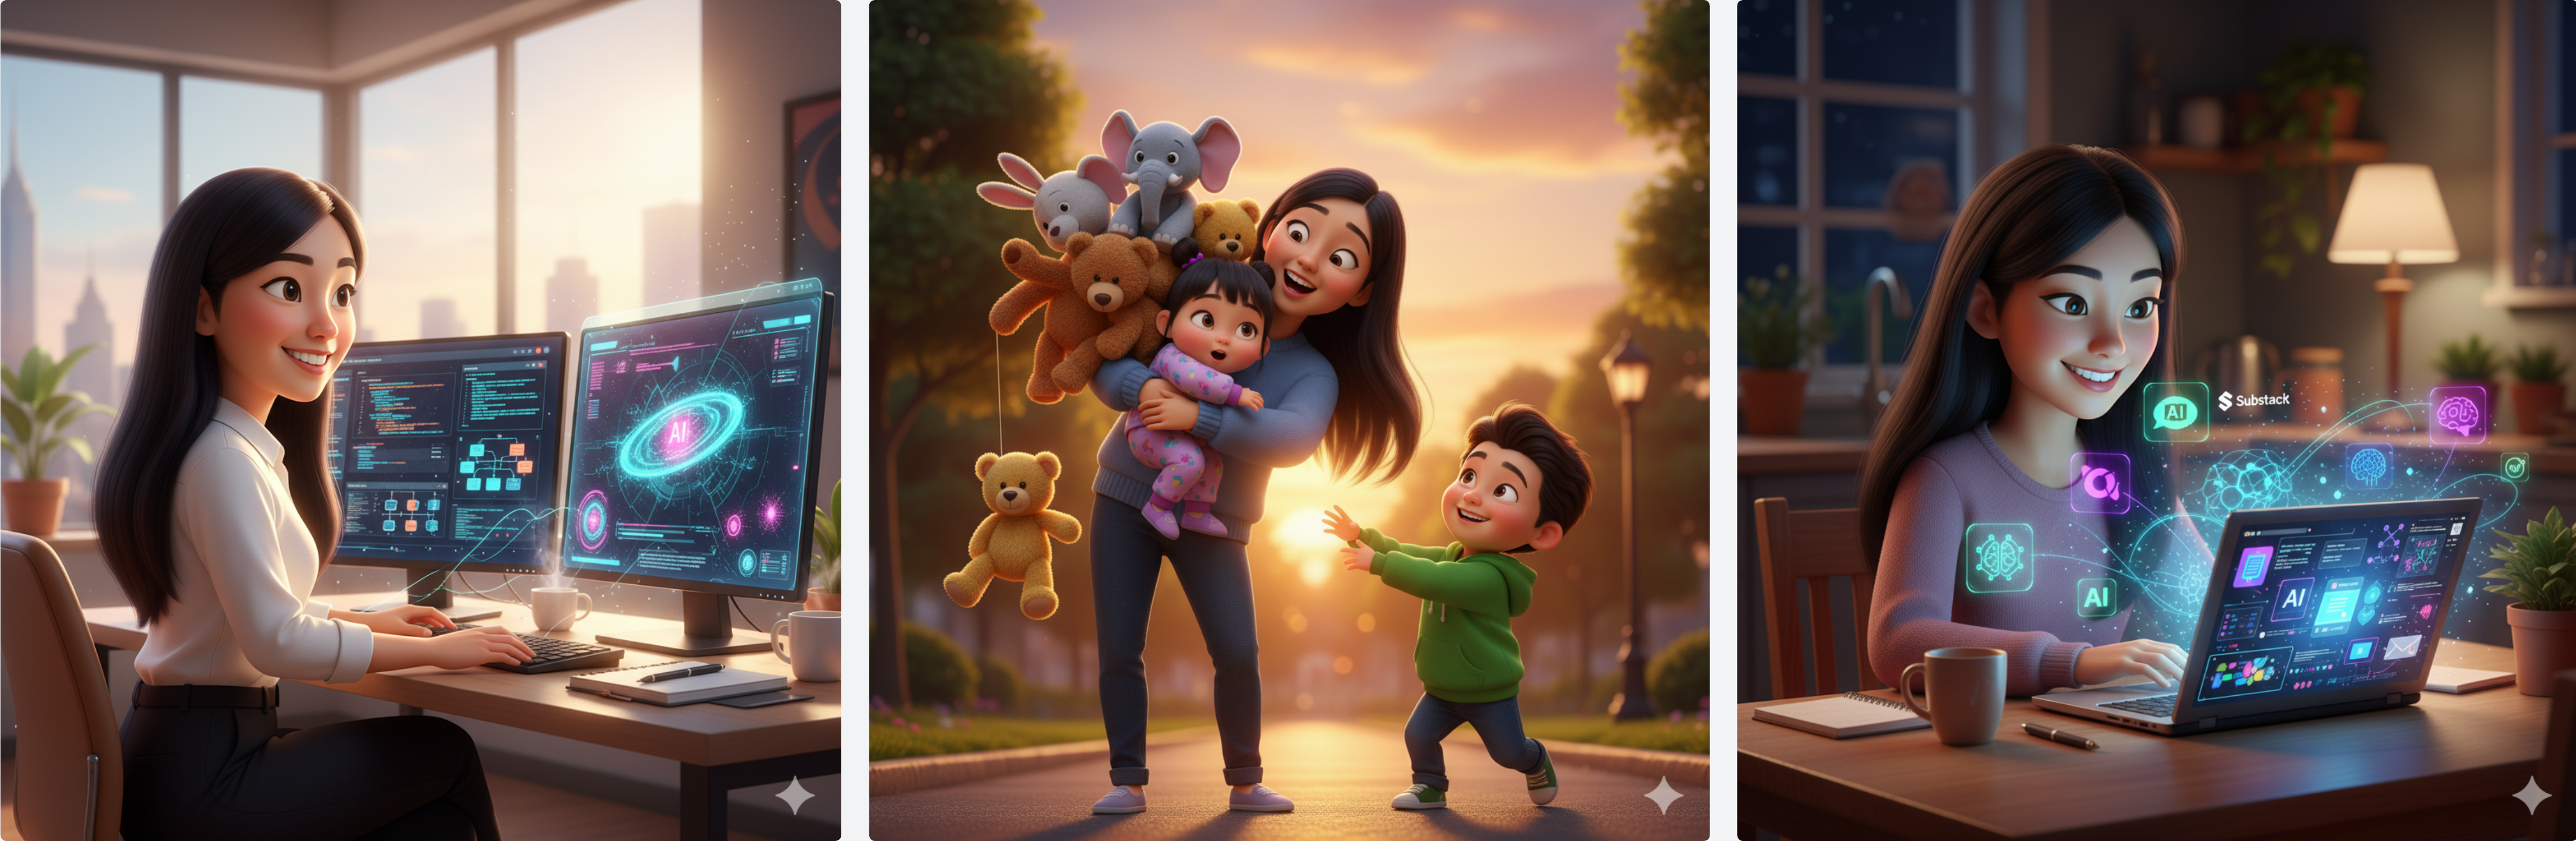
And if you’re Asian, you’ll immediately spot the drift. The face shape, the features, the subtle proportions. The specs might say “consistent,” but cultural context reveals what algorithms miss. What looks “close enough” to some people isn’t consistent when you know what to look for.
There are also technical issues: Gemini still doesn’t get the size and ratios right. Whenever I share a square reference image and request 16:9 ratio for newsletter headers, it fails. For newsletter formatting, wrong aspect ratios break layouts. This is functional, not aesthetic preference.
What Gemini DOES Work For
It’s entirely my personal preferences in terms of hero images. But I do use Gemini for many other scenarios, such as:
Small location swaps of image parts
Changing clothes
Changing text or words in images
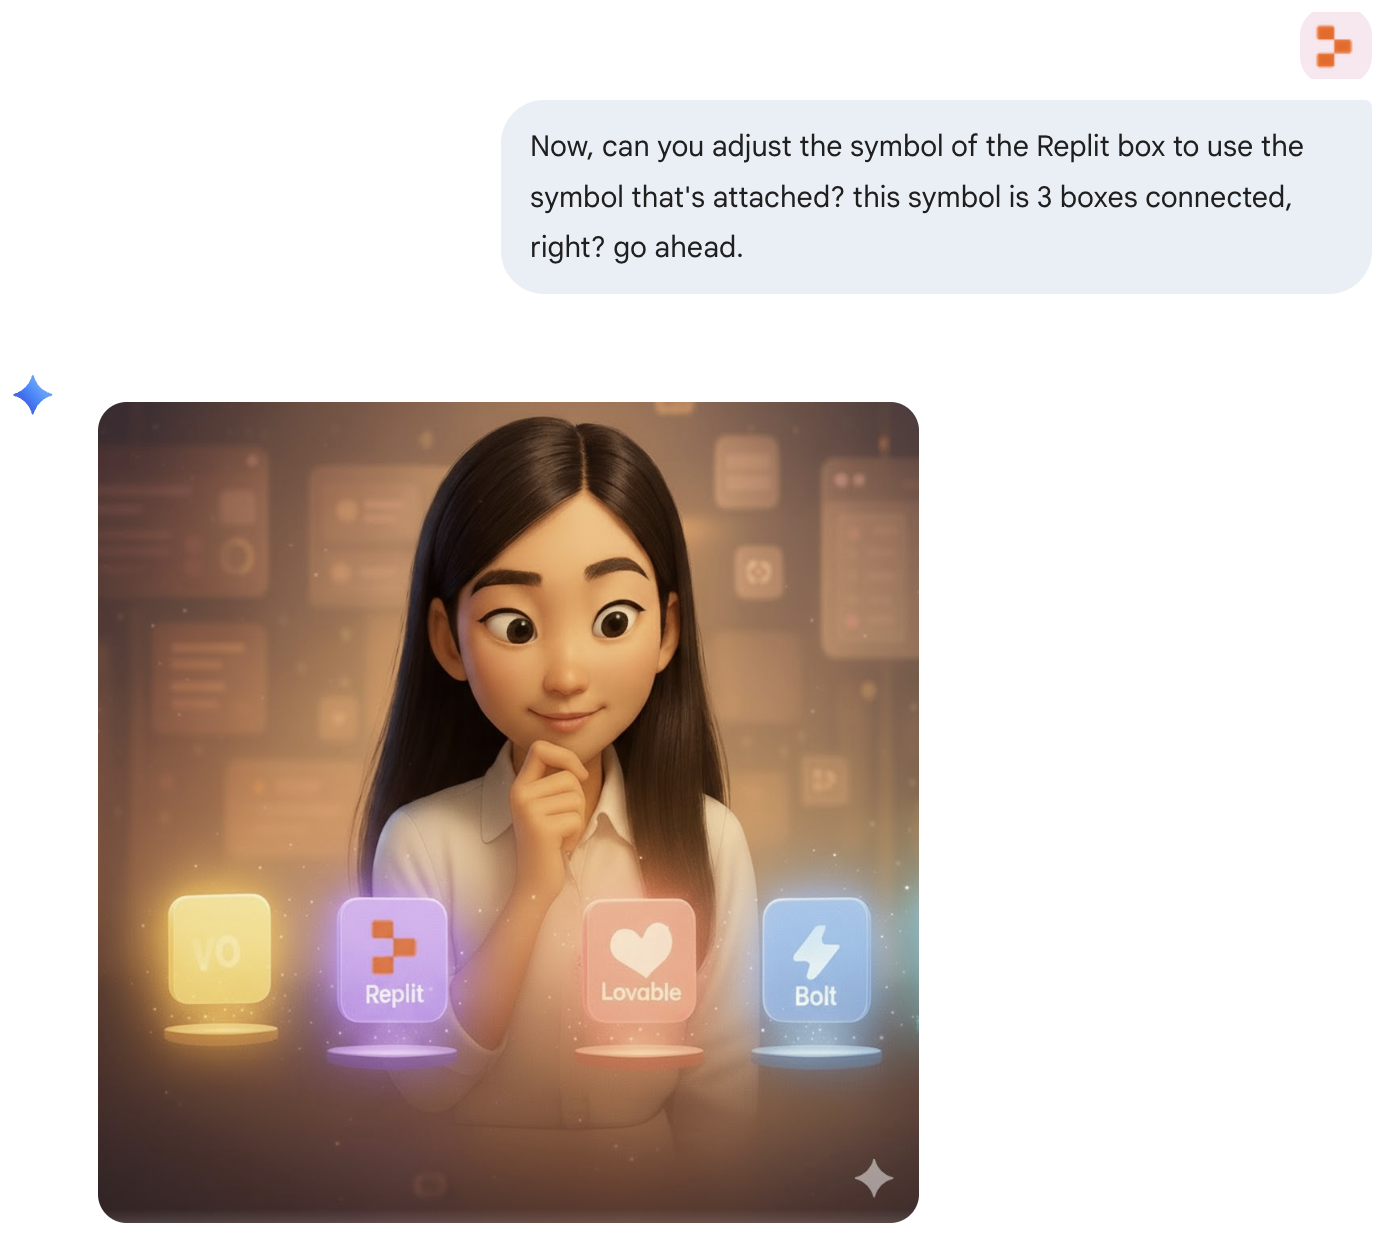
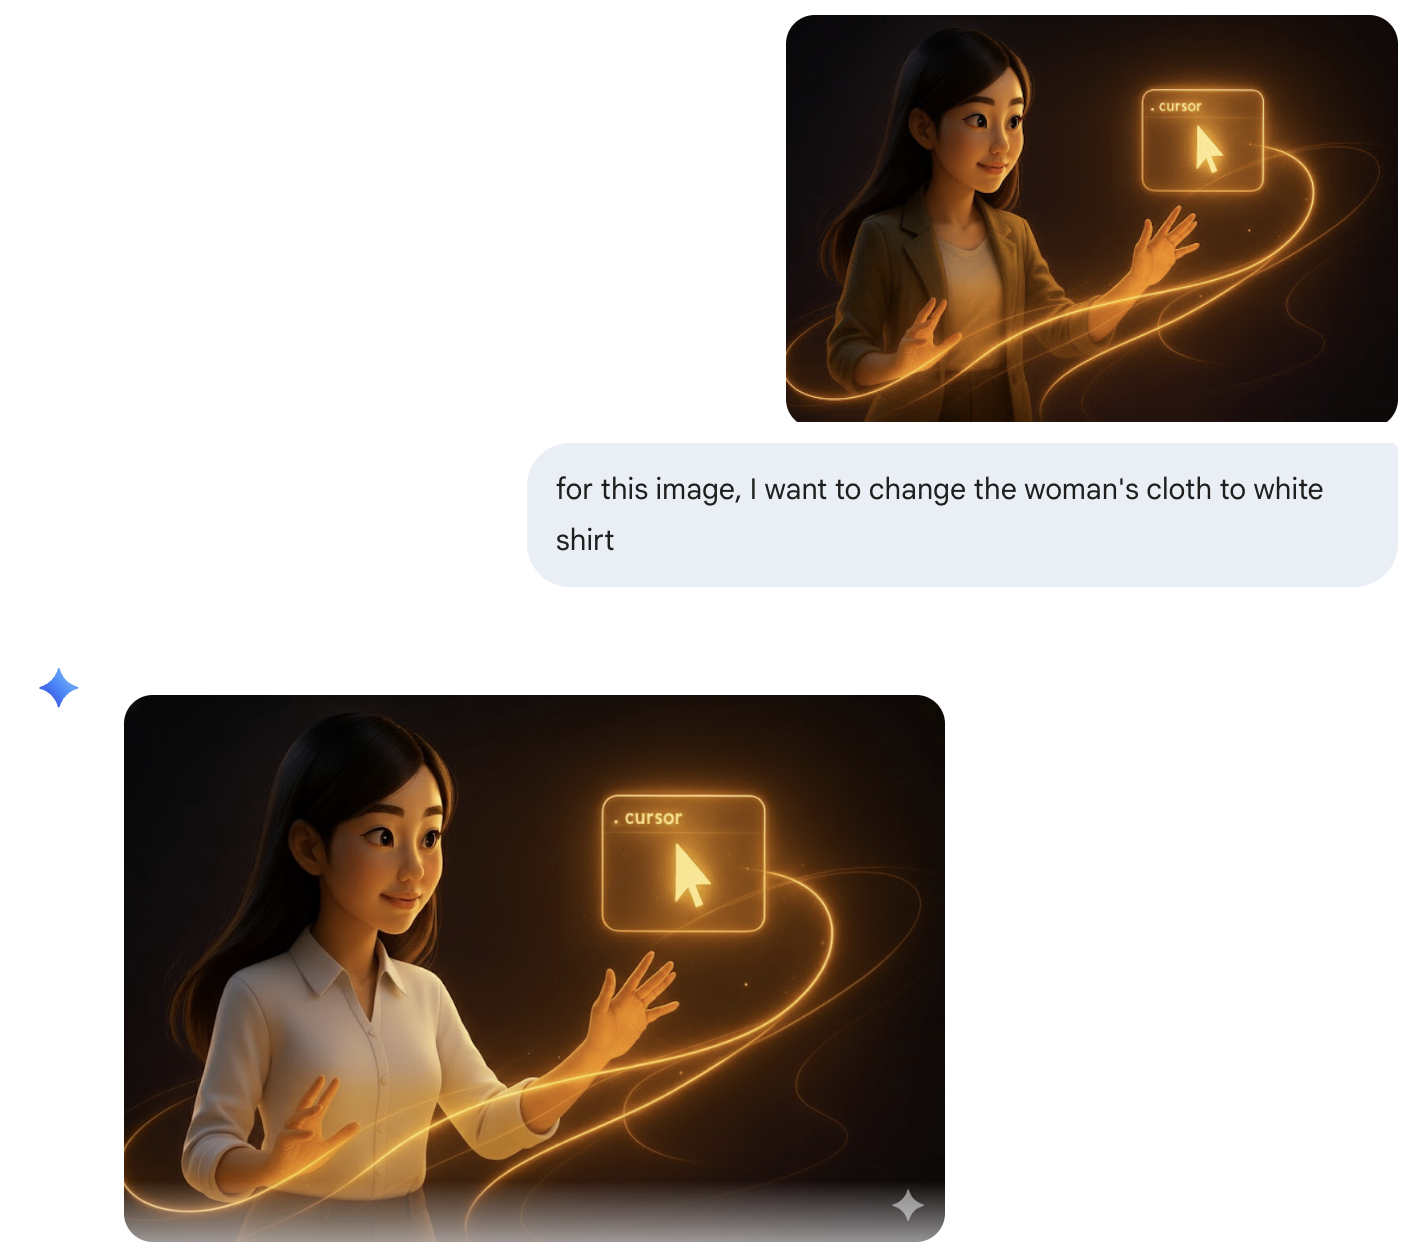
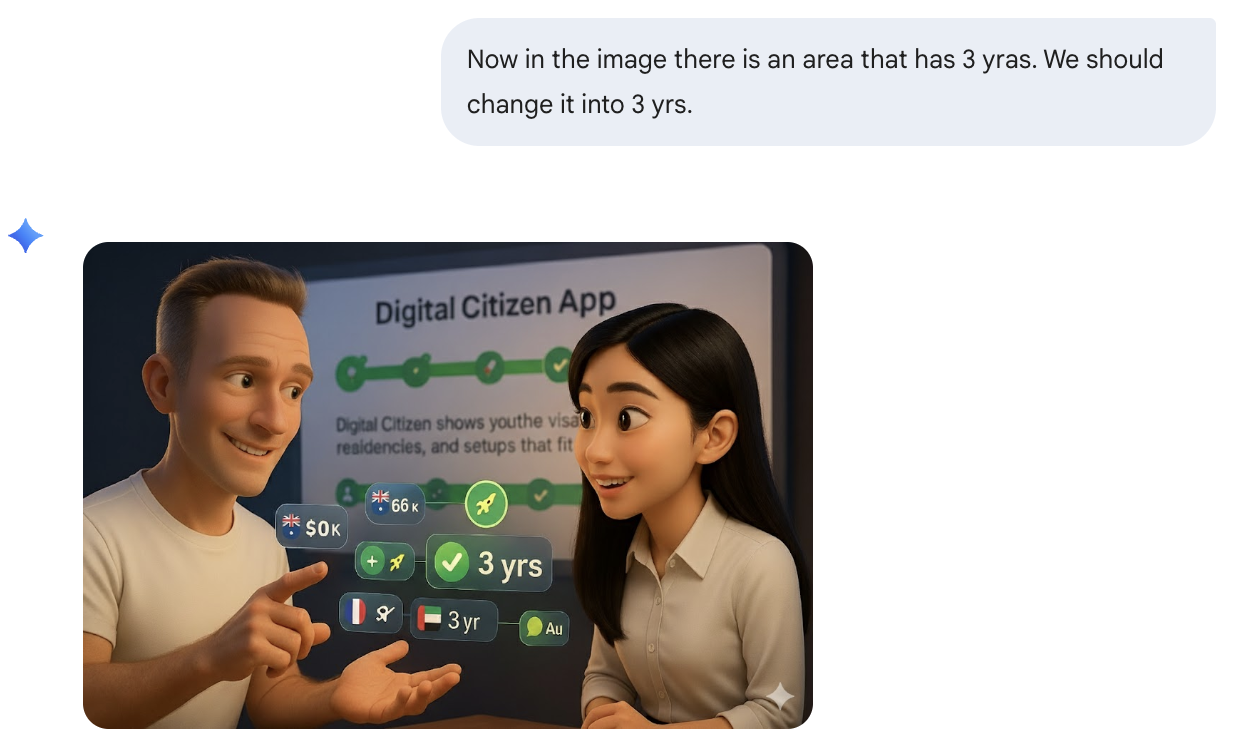
They all worked perfectly for these use cases.
I’m not a Gemini paid member, but the fact that it’s able to generate such consistent images for these tasks makes sense. If I were starting new, I’d probably just go with Gemini because it’s so fast, cheap, and also pretty consistent.
The fact that & have been using Gemini for their images consistently already shows its superpower. I have historical reasons for sticking with my current setup, I’ve built a system around ChatGPT 4o that works. But that doesn’t mean it’s the only viable approach.
4. How to Automate the Entire Image Creation Workflow
From here, it’s already the complete story. But if you’re like me and hate repetitive friction, you’d see the annoyance.
The Friction Without Automation
Every time I needed an image:
Think of ideas and concepts for the image
Write up the prompt from scratch
Tweak the prompt to include all my style preferences
Adjust positioning, gesture, background color preferences
Iterate until it matches what I expect
Many times, it was just failure, or I simply didn’t like the result at all. I have particular preferences about what positions the character should be in, what gestures work, what background colors fit my brand.
Time per image: 15-20 minutes Satisfaction rate: About 40% (yes, 60% of the time I was dissatisfied or had to start over)
Because if you don’t constrain those details, the results are just... really really unsophisticated.
The Solution: Slash Commands in Cursor
You know I love doing everything inside Cursor, including writing. So I created a particular slash command that helps me generate those prompts with minimal repetitive intervention. You can build the same pattern in Cursor, Claude Code, or another AI editor.
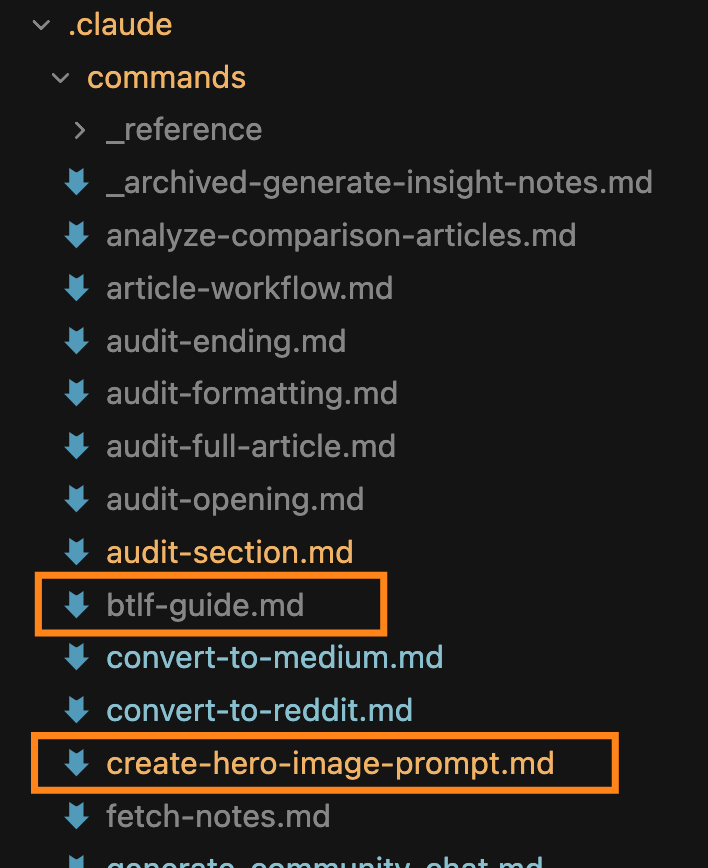
Sometimes I’m particular about what the image should be like, and I’ll specify details. Other times, I let Cursor free-form the prompt based on the article topic.
How it works:
Type
/create-hero-image-prompt [article topic/description]in CursorThe command generates a brand-consistent, detailed prompt in a few seconds
Copy-paste the prompt to ChatGPT’s Image project
Generate the image
Result: Usually 1-3 shots to get a satisfying image. 90% first-try success rate.
Time per image: Under 30 seconds for prompt generation, then standard image generation time
And it’s not for standard single-character articles only. I have another slash command btlf-guide specifically for my Build to Launch Friday series where I need two persons interacting with each other. Different scenarios, different conversations, different dynamics. The same systematic approach applies: describe the interaction, the command generates the prompt, paste and generate.
What Actually Changed
The metrics tell part of the story (20 minutes down to seconds, 40% satisfaction up to 90%). But the real transformation is cognitive.
I’m no longer thinking “what exact words describe my style?” or “did I remember to specify the background color preference?” The system remembers. I only think about what the image needs to convey for this specific article, and the automation handles the rest.
The friction disappeared completely. This kind of workflow optimization is exactly what I talk about in my 10x productivity workflow guide — removing repetitive cognitive load so you can focus on the creative work.
Next Steps
Beginner: Set up your character image pool
Upload your profile picture to ChatGPT and ask it to generate front, side, back, sit, stand, and various expression poses in your chosen style. Save these as your reference images. This takes 15 minutes and is the foundation everything else builds on.
Intermediate: Create a ChatGPT project folder
Set up a dedicated “Images” project in ChatGPT with a system prompt defining your style preferences and your reference images attached. Test it with your next article’s hero image — you should see a noticeable consistency improvement immediately.
Advanced: Automate with slash commands
If you write in Cursor, create a slash command that generates brand-consistent prompts from article descriptions. This is the step that takes you from 20 minutes to 30 seconds. If you want my exact setup, it’s included in the paid resources below.
If you’re a paid member, I’m sharing the exact ChatGPT project setup with system prompt, 3 Cursor slash commands (/hero-image-prompt, /btlf-guide, /scene-builder), and an import-ready .md file for Claude, ChatGPT, or Gemini. Access the consistent image creation resource here.
If this gave you a cleaner way to make your covers, send it to one person who is still rewriting the same image prompt every week.
This post is free. If you found it useful and want access to more of what I’m building, skills, automations, step-by-step guides, paid subscribers get all of it.
What part of your hero image process still takes the longest?
— Jenny